
Installing a server operating system might sound intimidating, but with the right guidance, it's a straightforward process. Whether you're setting up a new server for your business or just experimenting in a lab environment, this walkthrough will help you install Windows Server 2022 with confidence.
Pro Tip: Before beginning, ensure you have at least 32GB of free storage space and a stable power connection. Server installations can take time and interruptions may cause issues.
1. Booting from Installation Media
The first step is getting your server to recognize the installation media. Here's how it's done:
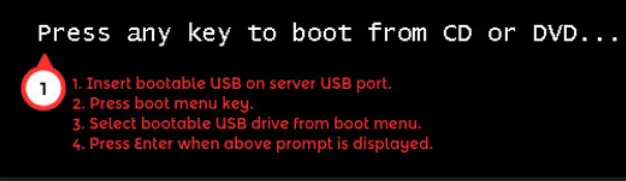
- Insert the Bootable USB - Plug your USB drive (with the Windows Server 2022 ISO) into the server's USB port.
- Access the Boot Menu - Restart the server and press the appropriate key (often F12, ESC, or DEL) to enter the boot menu.
- Select the USB Drive - From the menu, choose your USB drive and hit Enter.
- Wait for the Prompt - Once you see "Press any key to boot from CD or DVD...", press a key to start the installation.
2. Configuring Language and Regional Settings
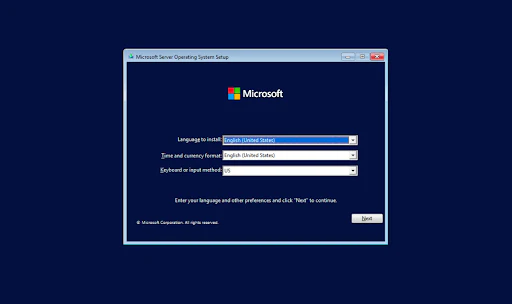
The first official screen asks for your language, time format, and keyboard layout. Since Windows Server is widely used in English-speaking environments, the defaults are usually:
- Language: English (United States)
- Time and currency format: English (United States)
- Keyboard input: US
Once you confirm these settings, click Next, and you'll move to the main installation screen.
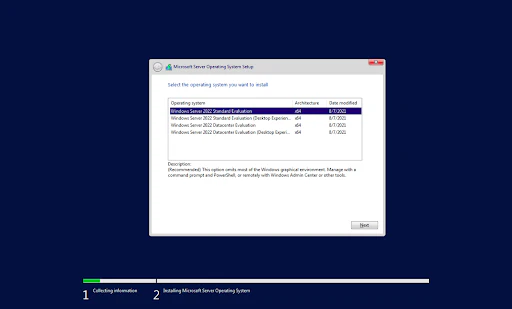
3. Selecting the Right Windows Server Version
Windows Server 2022 offers several installation options. Here's what you need to know to choose the right one:
| Operating System | Architecture | Best For |
|---|---|---|
| Windows Server 2022 Standard Evaluation | x64 | Basic server needs |
| Windows Server 2022 Standard Evaluation (Desktop Experience) | x64 | Users who prefer a GUI |
| Windows Server 2022 Datacenter Evaluation | x64 | Virtualization-heavy environments |
| Windows Server 2022 Datacenter Evaluation (Desktop Experience) | x64 | Full GUI + advanced features |
If you're new to server administration or need a familiar interface, the Desktop Experience version is a great choice. It includes a full graphical interface, making it easier to manage if you're used to a traditional Windows environment.
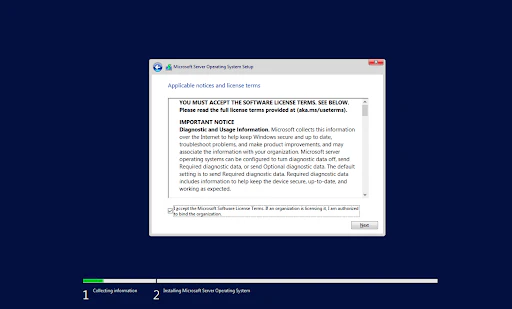
4. Accepting License Terms
Before proceeding, you'll need to accept Microsoft's license terms. One key detail mentioned is diagnostic and usage data collection, which is set to "Enhanced" by default. This means Microsoft collects performance and security-related data to improve the OS.
Check the box to accept the terms and click Next.
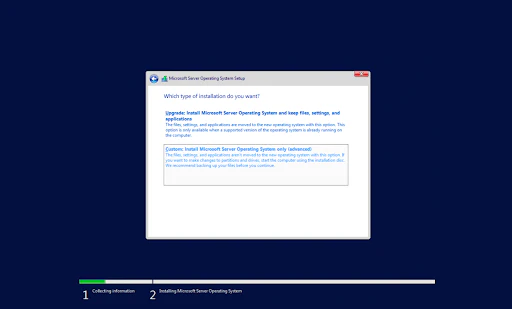
5. Choosing Installation Type
Since we're installing a fresh copy of Windows Server, the Custom option is the way to go:
Custom Installation
- Performs a clean install
- Recommended for new setups
- Allows disk partitioning
Upgrade Installation
- Only available when updating
- Keeps files and settings
- Not for fresh installs
Select Custom, and you'll move to disk partitioning.
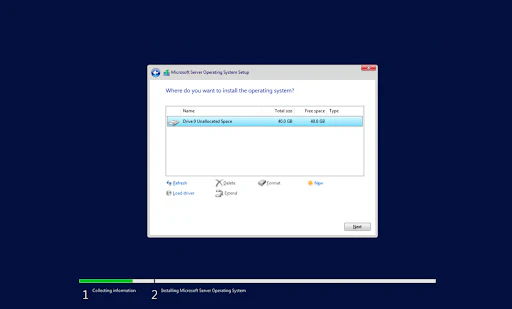
6. Partitioning the Drive
If your server has a fresh drive, you'll see unallocated space. Here's what you can do:
- New - Create a partition
- Format - Prepares the drive for installation
- Delete - Removes existing partitions (useful if reusing a drive)
For most users, selecting the unallocated space and clicking Next will automatically handle partitioning.
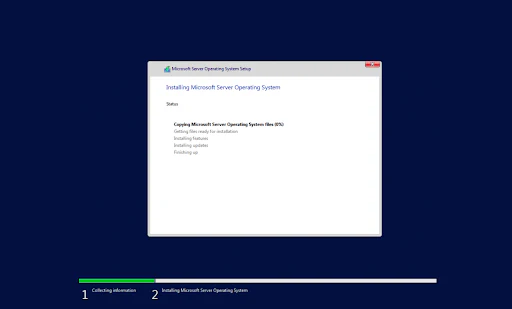
7. Completing the Installation
Once you confirm the partition, the installation begins. You'll see progress indicators for:
- Copying Windows files
- Preparing files for installation
- Installing features and updates
- Finishing up
This can take a while, so grab a coffee while Windows does its thing.
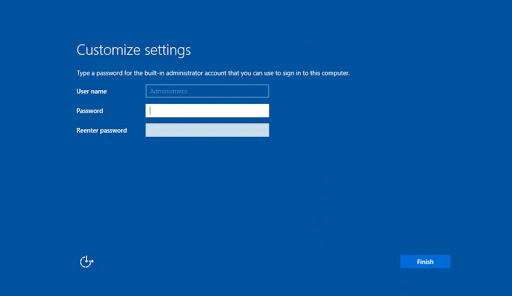
8. Setting Up the Administrator Account
After installation, you'll need to set a password for the Administrator account. Make sure it's strong - something like Azure2021! (but preferably more complex).
Security Tip: Never leave the default password blank - this is a major security risk!
Final Thoughts
And that's it! You've successfully installed Windows Server 2022. From here, you can:
- Configure server roles like Active Directory or DNS
- Set up remote desktop access for management
- Install additional features through Server Manager
- Configure security policies and user accounts
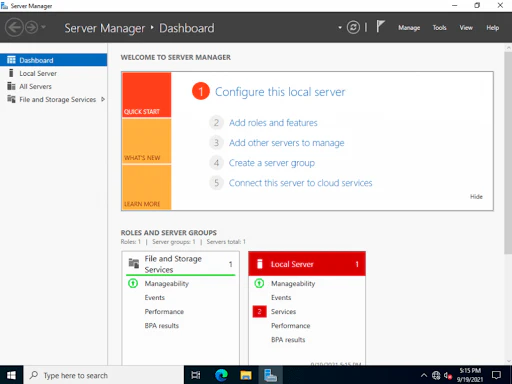
Happy server admin-ing! 🚀